

Installing a used barrel on a Remington 700
The impetus for “The Mongrel Dasher” started with a call from a friend who had some slightly used custom barrels he was looking to sell. My intention was to simply help him sell his barrels by listing them online for him. But when he started giving me the list of barrels and the prices, I ended up buying a barrel from him for myself. A heavy varmint taper, fluted, Hart barrel, 28” long, chambered in .20 Dasher by Greg Tannel. With less than 50 rounds fired through it and 48 rounds of load ammo included. All for only half of what the chambering work alone originally cost. Too good a deal to pass up! Even though, I need another rifle like this one about like I need another hole in my head…
But, anyway, I woke up one morning with no thoughts of needing or even wanting another rifle like this and went to bed that same night owning the barrel and making plans to use it.
The donor action
First order of business was an action to screw the barrel on to. I had a new Rem. 700 ADL .22-250 sitting in the corner that I’d bought a few years earlier purely as an organ donor. The project it was originally intended for went another direction with a custom action and it had just been sitting there new in the box gather dust.
So, I have an action already on hand to use. Just need to pull off the factory barrel!
Before removing the barrel, I punched a set of witness marks between the action and the factory recoil lug, using a special punch made specifically for the task. This way I’ll be able to precisely re-align the lug with the action when installing the new barrel (or re-installing the old barrel, for that matter).
I used my old Midway barrel vise and 700 action wrench to remove the factory barrel as pictured below.
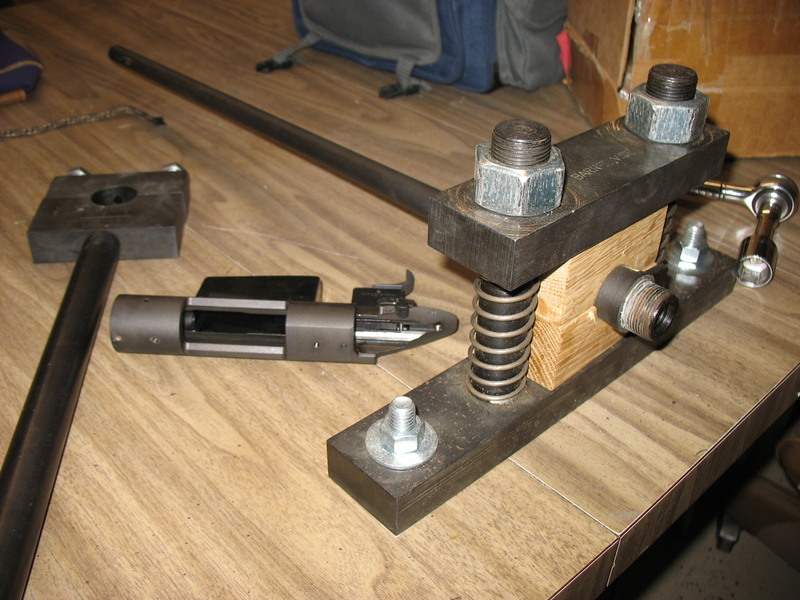
I think the key to making any barrel vise work for removing factory barrels, is to get that barrel clamped down tight-tight-TIGHT. To that end, I’ve bedded the barrel blocks that come with the vise to various factory barrel profiles. The bedded blocks obviously provide an excellent fit. Here’s a pic of the blocks that have been bedded to a Rem. 700 factory sporter that I used on this barrel.
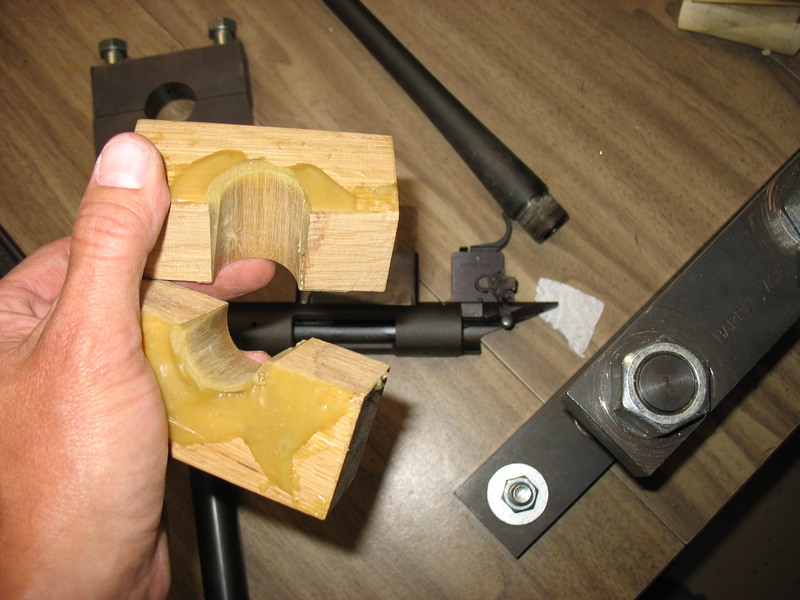
I like to score the bedding lengthwise before it sets up hard to help them grip, you can kind of see that in the picture above. Then I use rosin on the blocks and barrel, again to help them grip. Then, finally, when tightening the vise, I “use enough wrench” to make sure I really get it tightened down hard. Most of the factory barrels I’ve ever removed with this setup needed only for me to lean on the action wrench to get them moving. A few stubborn ones have needed a smart blow on the end of the action wrench with a 3 lb hammer. So far, that has never failed to break a barrel loose.
This factory barrel came off very easy. I just barely started to lean on the action wrench and she broke loose and spun right off. Took me longer to type up this up than it did to actually pull the barrel.
Installing the new .20 Dasher barrel
Now it was time to screw the new Dasher barrel on! This was a simple matter of putting the new barrel in the vise and spinning the action onto it with the action wrench. Note, when the action started to snug up tight, sandwiching the recoil lug between the action face and the barrel tenon shoulder, I slowed down and took care to make sure my witness marks on recoil lug and action lined up perfectly when the action was fully tightened onto the barrel.
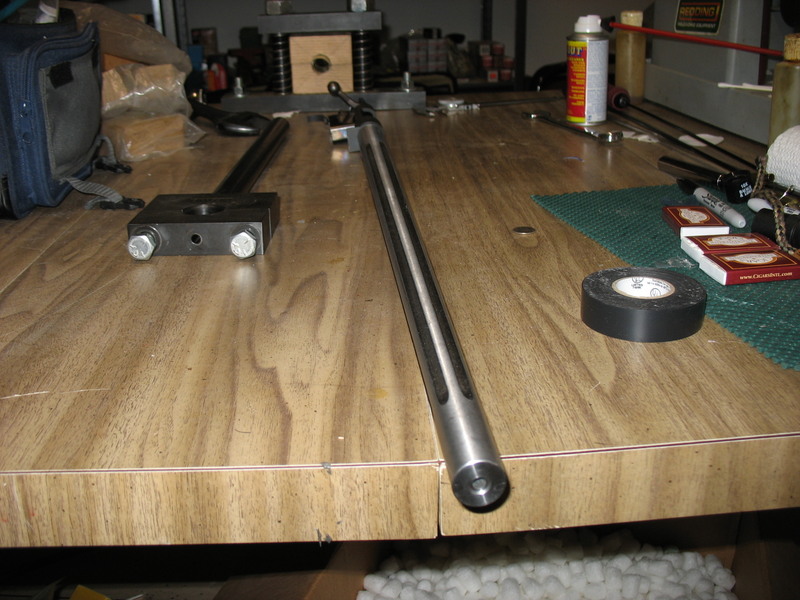
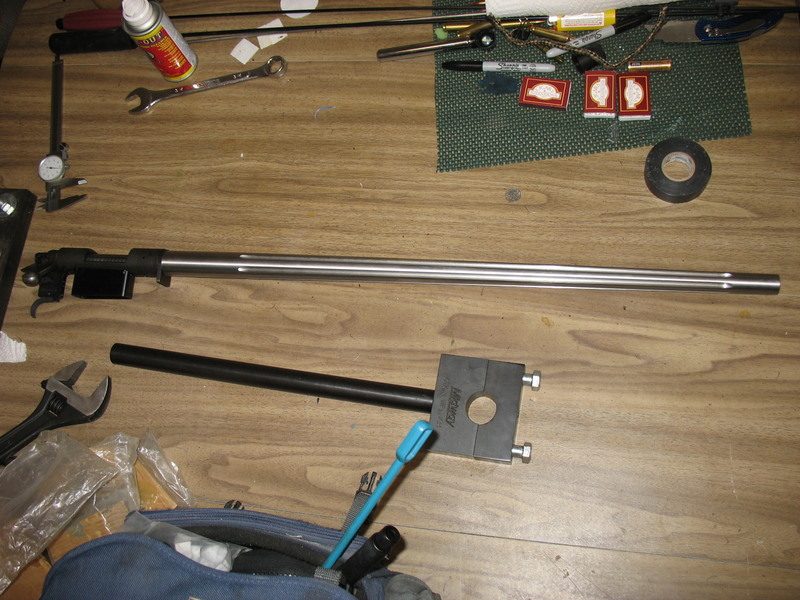
Here’s a couple pics of the ADL donor action with its new .20 Dasher barrel screwed on. Sporting just a wee bit more barrel than it was only a few minutes earlier!
A small problem encountered
It was at this point that the first challenge of the project was encountered. And it’s a good example of what you might run into yourself, should you decide to put together a parts rifle of your own. I’ll cover that in part 2!
More to come…

Very good stuff .