
DIY Big Brake Kit For Jeep TJ/LJ
With the addition of bumpers, winch, armor etc., and the weight and rolling resistance of 35’s, the factory brakes on my 2006 Jeep LJ have never been more than okay.
I have been running first EBC Yellow Stuff and then later Black Magic pads with Centric premium rotors in the stock configuration for over a decade. The fancy pads are an improvement, but still not exactly amazing. It’s been fine for normal driving but panic stops on the interstate have been genuine panic!
The impetus for this project began with driving my wife’s new 2019 JLUR and noting how awesome the brakes are compared to my LJ. Then, one evening in camp, talking rigs with friends Carl and Davy, I was complaining about the wimpy little rotors on the LJ and also complaining how expensive big brake kits are.
Carl got to looking around and found this info on a DIY big brake kit, here – http://jeepm62superchargerkit.blogspot.com/p/blog-page.html.
I decided to go for the 17” wheel flavor, utilizing dual piston calipers for an ’11-’15 Grand Cherokee or Durango and rotors for an ’11-’14 Mustang GT. As described at the source, 1” spacers are needed at assembly to center the caliper on the rotor. More on this later…
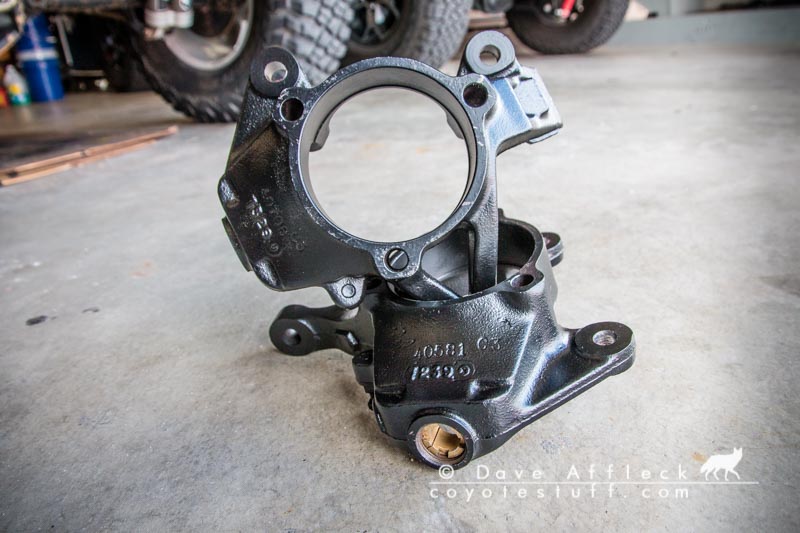
So I started sourcing parts, spreading the expense out over two months. The foundation of the project and the first thing I sourced was a pair of steering knuckles from an ’84-’89 XJ. These came off an ’88.
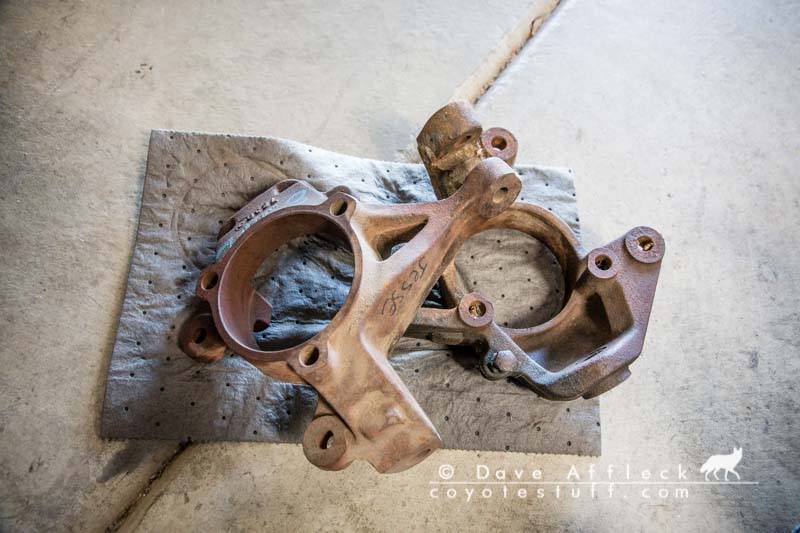
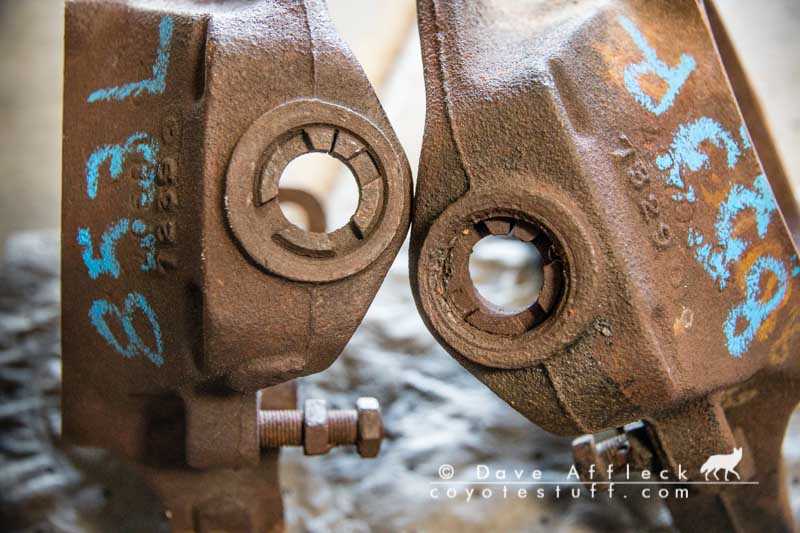
The one on the left has been slightly molested. Both the split ring and steering stop are partially backed out. And it turned out that the threads for that steering stop were jacked up. I had the right 3/8-24 tap in the box already so that was not any big deal though.
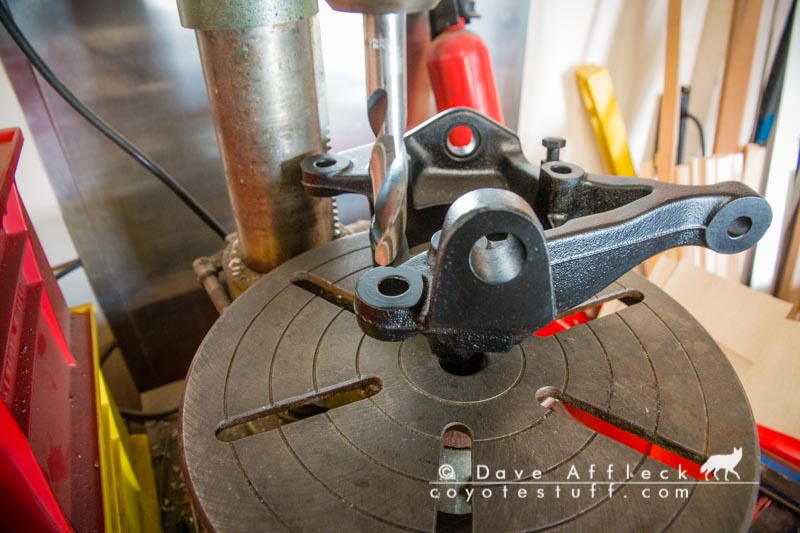
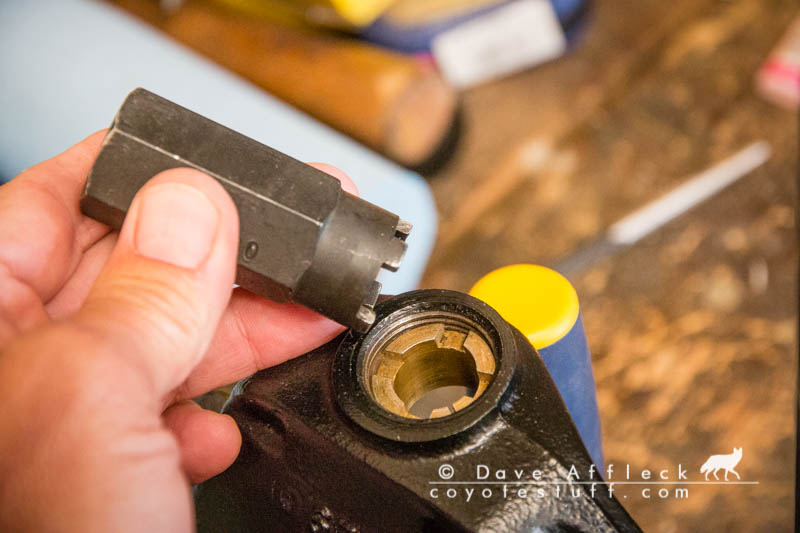
I cleaned them up real good, painted them with Eastwood Chassis Black, drilled out the caliper mounting holes to 14mm, installed new split rings to a depth of .206 and cleaned up all the steering stop threads.
The knuckles are ready to go.
The next item I needed was calipers. I got them off rockauto, dual 48mm piston calipers listed for a 2013 Grand Cherokee. I decided to go fancy and paint them red.
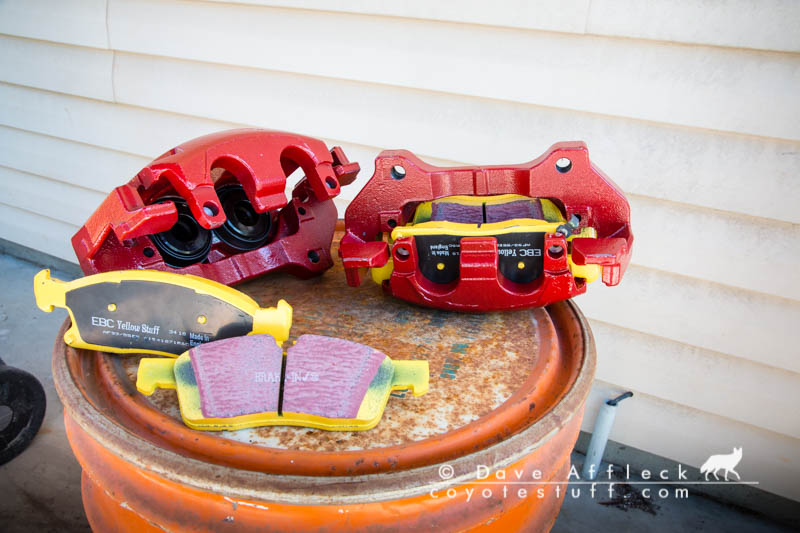
I also decided to spend some money on Yellow Stuff pads. They are expensive as hell, $175. For comparison, during mockup at Carl’s I forgot to bring them so I ran to Autozone and got a set of pads there for $27, I’m going to return them :). EBC describes them as high dust, highest friction. They are meant for stopping not keeping wheels clean or rotors looking minty, ha-ha! My experience with them is they do deliver a noticeable improvement in stopping power though and just work better when they get hot.
Next, I ordered all the hardware I thought I’d need. This included 14mm flange bolts long enough for the 1” spacers, new banjo bolts and copper washers and a pair of speed bleeders. Along with a chunk of 1.350 round bar for Carl to make the spacers out of.
A few weeks later when the budget allowed, I was ready to order the last piece needed, the rotors. My friend Carl got to looking again. We both thought the 1” spacers would be okay, but neither of us was in love with that much spacer either. And he brought up that the Grand Cherokee caliper was for a 1.25 thick rotor while the Mustang rotors were 1.18.
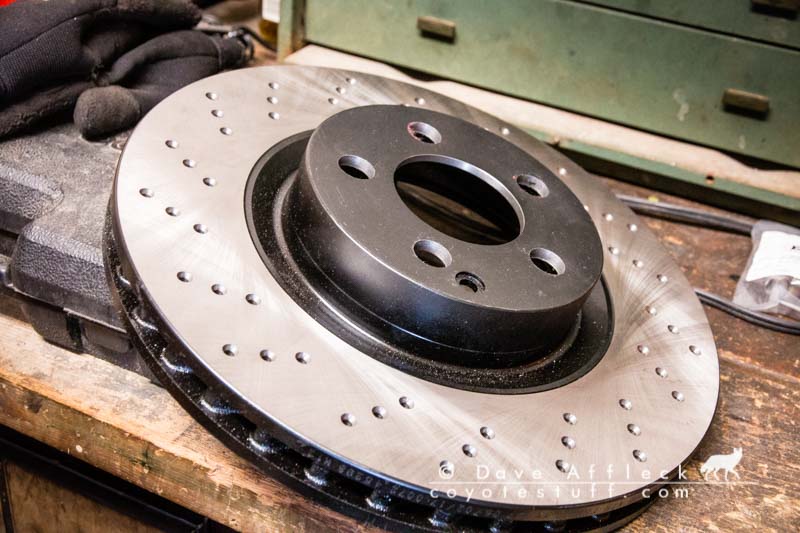
What Carl came up with, are rotors for a 2007 Mercedes S550. They are the same 13.25” diameter and a full 1.26” thick. Best of all, the hat height meant they should only need .350” spacers. The center bore would need to be opened up and the lug holes might need to be enlarged as the 4.41” pattern is close but not quite exactly right for the TJ/LJ.
So I ordered a set of Centric rotors for the Mercedes and as soon as our schedules allowed, I was at Carl’s house for the needed rotor modifications and making the spacers. Here is a new rotor after having the center bore opened up on the lathe to 2.840 and the lug holes opened up to 3/4”.
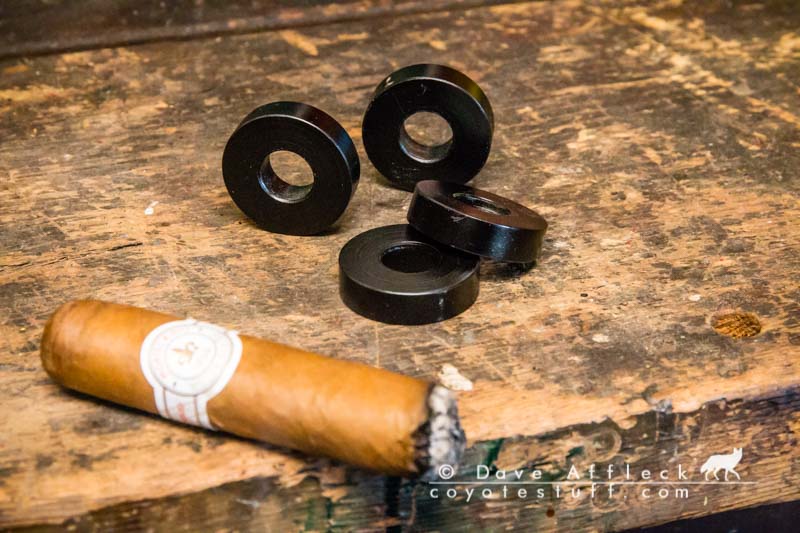
And here are the 1.350x.350 spacers with a 9/16” hole in them that Carl made (after a shot of Chassis Black). By the way, Carl’s calculations of spacer thickness based on dimensions in online parts drawings was spot on.
Next minor challenge is that the OD of the unit bearing flange was just slightly too large to fit inside the rotor hat. Just barely wouldn’t fit. By taking about .020 off the OD of the unit bearing with a flap wheel on a grinder it fit fine.
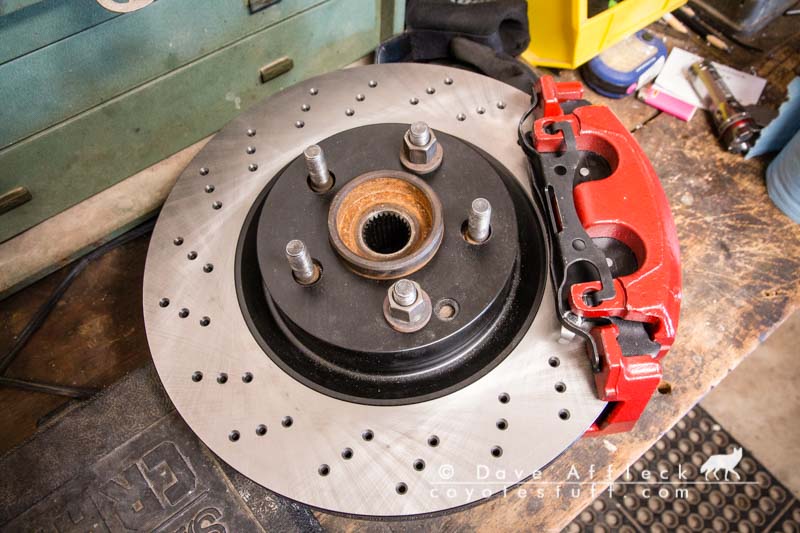
Here is the final mock up (note the cheap pads are used here).
One minor issue noted, was slight interference between the rotor and caliper.
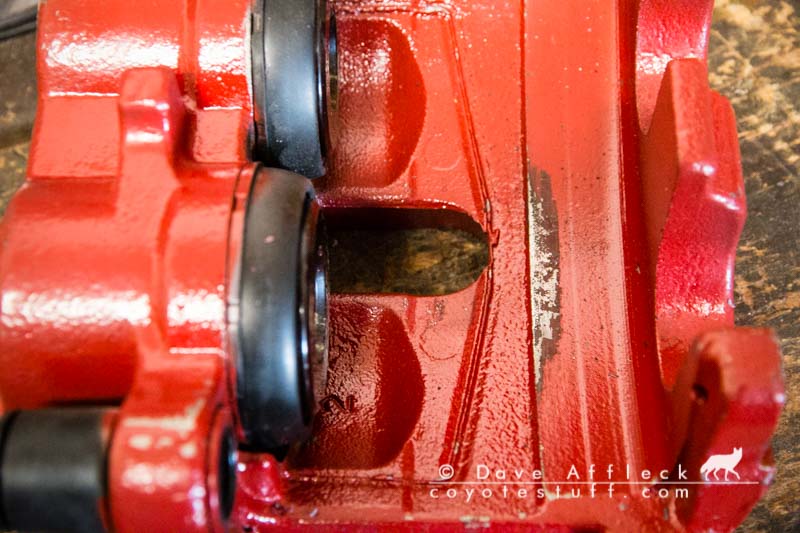
That is hardly more than taking the paint off but it was enough to have no contact on the mock up. It ended up there was contact after installation though, which I’ll explain later. With hindsight, it would have been cleaner and easier to simply have Carl take .050 off the rotor diameter while they were in the lathe. I’d recommend doing this.
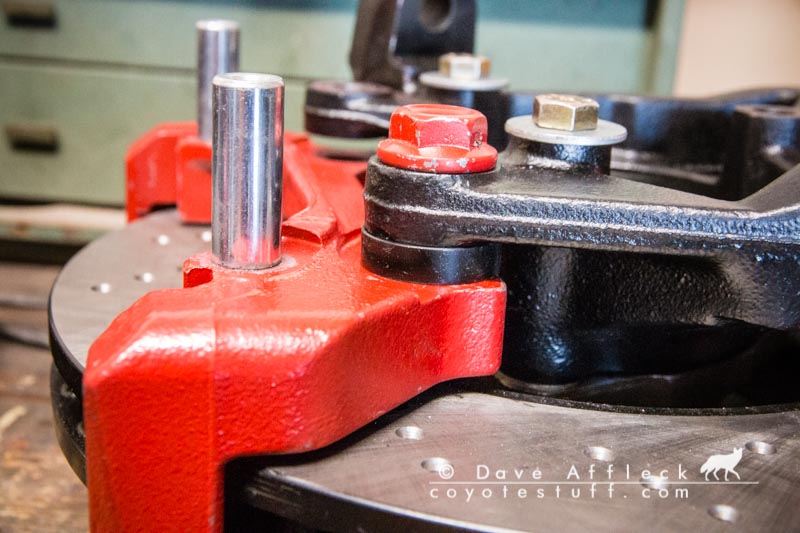
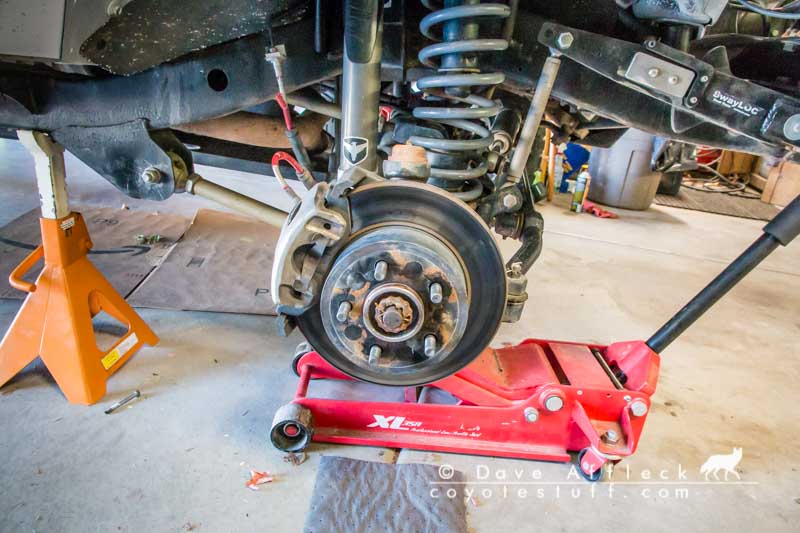
And finally, it was time to put it all together! Starting with installing the early XJ knuckles.

Note the caliper mounting holes, spaced 5.5”, that’s the key to making this work. That, along with the XJ knuckle not requiring any other changes, to steering geometry or anything else. Once the installation is ready to begin, it’s truly bolt on.
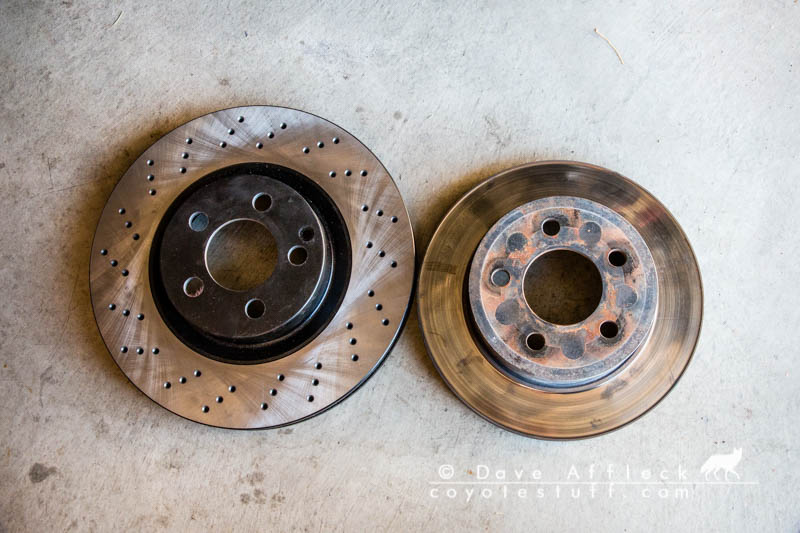
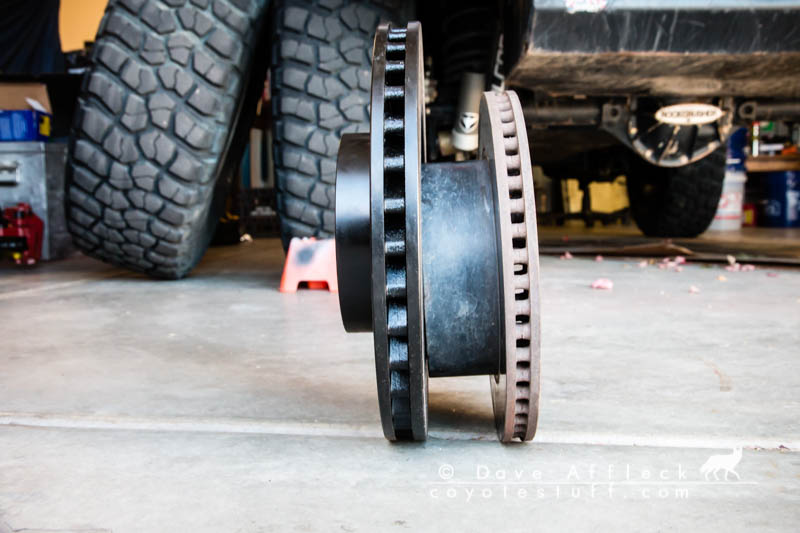
Comparing old rotors to new.
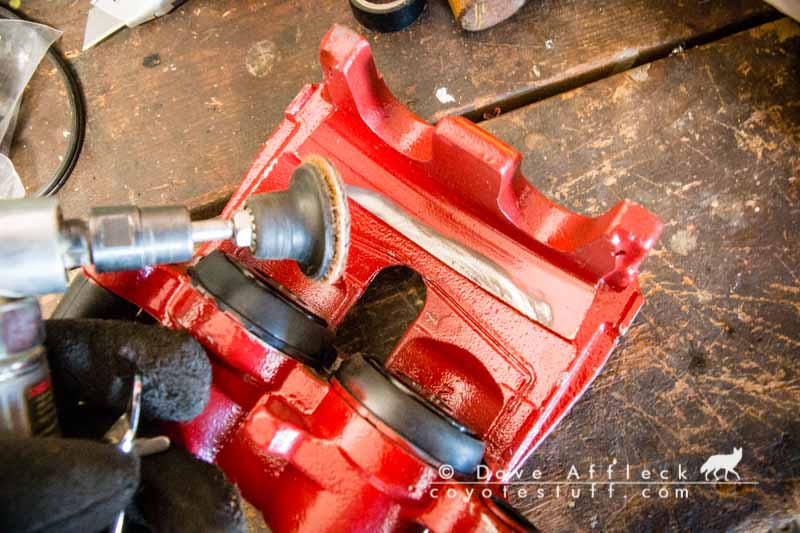
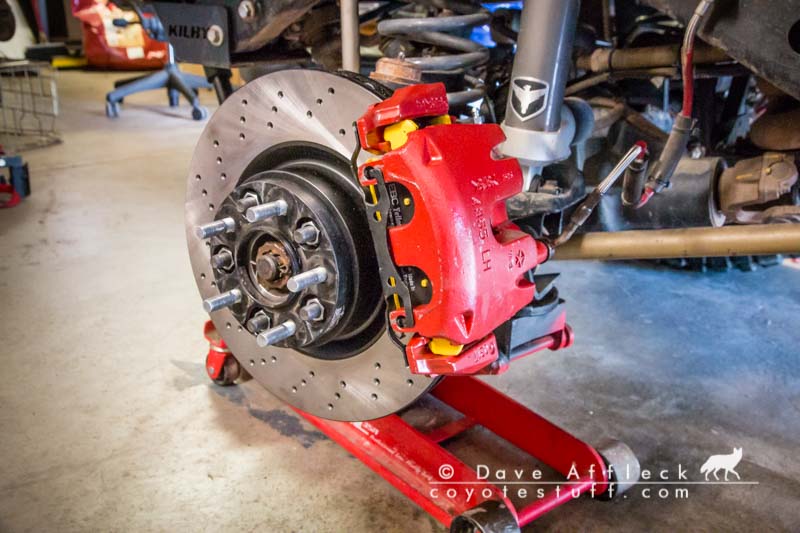
The install didn’t go absolutely 100% smooth. I did run into one small problem that I had thought I might. This projection on the calipers had to go in order for the existing banjo fittings on the ends my brake lines to fit.
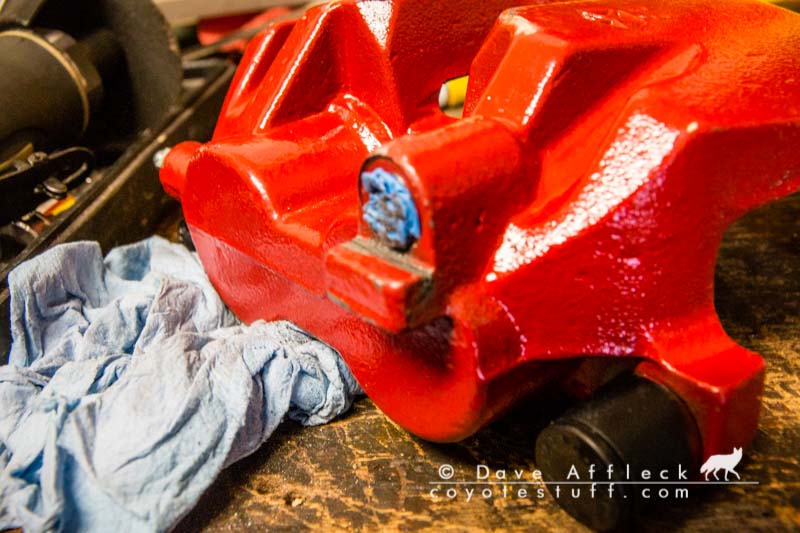
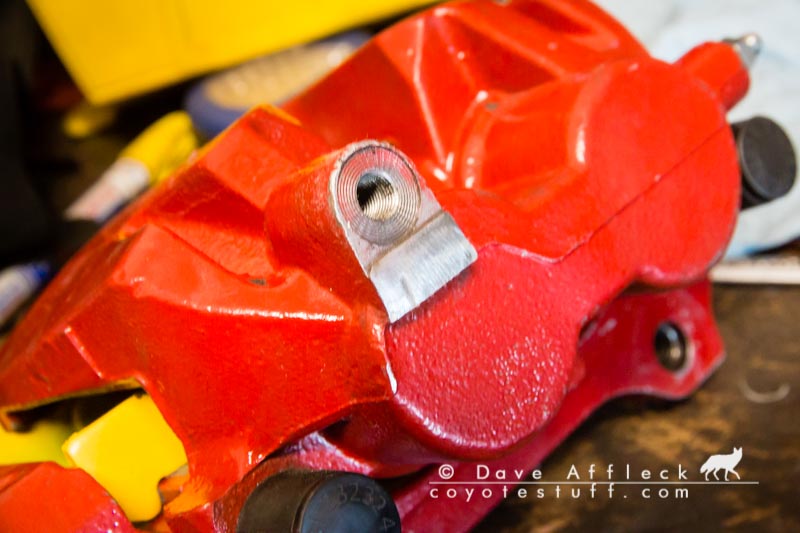
Quick and easy with a cut off wheel. Other than that small blip, install went smooth as silk.
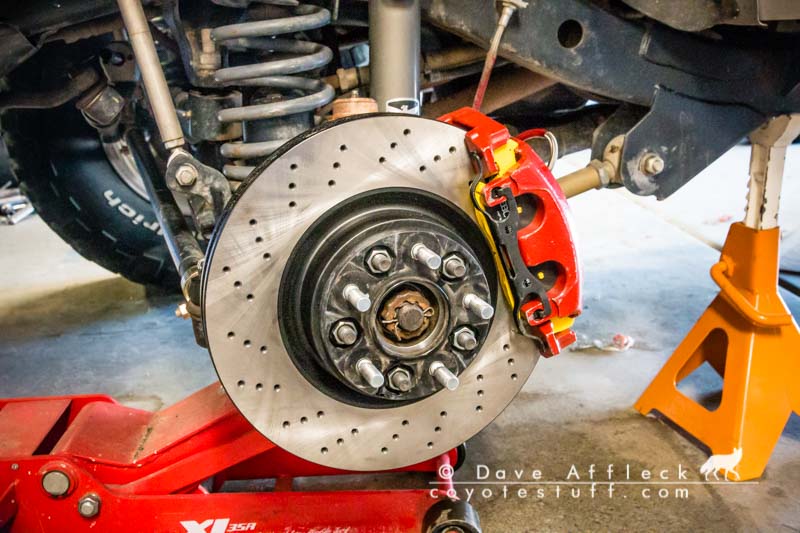
Old brakes/New brakes.
After install, I went for a little test drive and used the pad bedding in procedure outlined by Blaine Johnson here: http://www.blackmagicbrakes.com/instructions.html
For the bedding in you do some back to back moderate 40MPH stops without quite actually stopping, then drive without using the brakes to cool them. The second 40 MPH stop, I accidentally locked them up. That, in itself, is amazing! I haven’t ever been able to lock them up on pavement going much faster than 25 MPH before.
It was just immediately obvious that the stopping power is just way better. Very noticeable, significant seat of the pants improvement. I was way happy with that first test drive!
But I have some numbers, too. The morning before starting the install, I went out with the old brakes and did some 50MPH to 0 stops on a frontage road. I picked telephone poles to hit the brakes, then after stopping used my Leica laser rangefinder to measure the distance back to the telephone pole.
Average distance for four 50 MPH stops with stock configuration, 120 feet.
The morning after the install and test/bed in drive, I went out again. First, I checked that the caliper bracket bolts with the stacked washers were still tight and they were. I also checked that the banjo bolts were not weeping or dripping and they were dry. Lastly, I decided to bleed them once more, just in case any tiny air bubbles had decided to form and rise to the top of the calipers over night. Based on pedal feel, I may have gotten just a tiny little bit of air out.
So, out to the same frontage road to repeat the test. First one, I didn’t count. Because I was so surprised to instantly lock them up at 50 MPH I just came off the brakes and giggled for a few seconds. Can lock them up at will at 50 MPH.
For the four measured stops, I modulated the brakes to not abuse my tires with fully locking up and skidding. I have no doubt a shorter stop could be made in a full blown panic skidding screeching halt. But this is what I came up with, trying not to lock them up.
Average distance for four 50 MPH stops with Better Brakes, 94 feet.
That’s well over a 20% improvement, which is damn impressive. They should get better too, as they continue to bed in and wear into the edge chamfers of the pads. And that’s with old school manual pedal modulation (no ABS) to avoid flat spotting the tires :D.

Total success!
For something that you use and feel and notice every time you drive to be so improved is awesome.
A final note about the rotor to caliper interference. It turned out, that after the four back to back 50 MPH test stops, the rotors were making slight but audible contact with the calipers. This only became noticeable after getting the brake good and hot. Thermal expansion is my guess. Not a big deal, it only happens when the brakes are hotter than they ever actually get in real world use and it’s so slight it will quickly self clearance. But, to do it over again, I’d have .050 taken off the rotors and not have any contact.
Finally here are the parts and the cost.
- Knuckles – ’84-’89 XJ $70
- Calipers – 2013 Grand Cherokee 6.4L, Centric 14158011/2, $230
- Rotors – 2007 Mercedes S550, Centric 12835099, $130
- Pads – EBC Yellow Stuff DP41871R, $175
- Bracket bolts – 14×1.5×50, $20
- 14mm 10.9 washers – $10
- Banjo bolts – Mopar 06508914, $15
- Copper washers – Mopar 06502114, $15
- Speed bleeders – Dorman 12709 10×1.0.35, $15
- Total $680
I went high dollar on the rotors and pads. And you don’t have to use speed bleeders (I love them though). You could easily keep this under $500 using less expensive parts. Way cheaper than the big brake kits out there.
– DAA
I just come to fully realize I’m mechanically stunted ! lol
How did you deal with the drilled out lug holes in the MB rotors and any issue of slop allowing the rotors to walk back and forth a little on the spindle? Was just the adapter bolt tightness and the fact that the braking force is typically always in the same relative direction? Thanks
The lug holes, we simply drilled them with a 3/4″ bit in the drill press. They needed that little bit of opening up to clear the root of the lug studs. Factory pattern rotors don’t fit tightly on the lug studs either, you can move them back and forth before clamping force of the lug nuts keep it from walking, it’s a non-issue. The rotor is located by the center bore, which needed to be opened up on the lathe to 2.840 to fit the spindle.
when you started talking spacers. I was reminded of all the rigs I see with wheel offset these days. some of which is so extreme I think you might be able to do a brake pad change without removing the wheels, LOL. usually guys with BLACK lifted chevys. I normally think “dude sorry about your dong” when I see that.
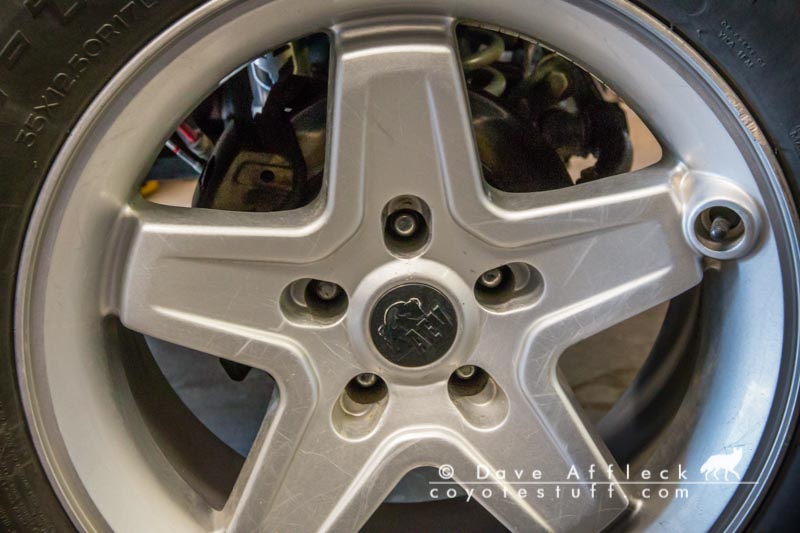
Any chance of that the stock tj/lj rubicon 16” Moab rims could be used with this brake setup? The inside Diameter of the the moab rims are roughly 15”. Could you take a measurement from the centerline to the outside of the caliper?
Jonathan, I don’t think the Moab wheels would fit. They “might”, but I would bet not.
The general Rule of Thumb is that the rotor can not be bigger than the rim diameter minus 3 inches. So a 15″ wheel will max out with a 12″ rotor, a 17″ wheel will max out at a 14″ rotor. There are some mild exceptions, i.e. wilwood sells a 12.19″ rotor that fits in *some* 15″ wheels and some OEM caliper designs won’t fit with a rotor diameter that does comply with the RoT.
Grinding on a caliper is very bad form. the usual locations on a caliper body where wheel interference will occur are exactly the places where a caliper should NOT have material removed. Sometimes a thin shim wheel spacer will fix the problem, just be careful of lug nut thread engagement length.